CSV Upload
The CSV Upload feature is designed to help import structured and unstructured data via CSV files into the FreeText AI platform.
Step-by-Step Guide
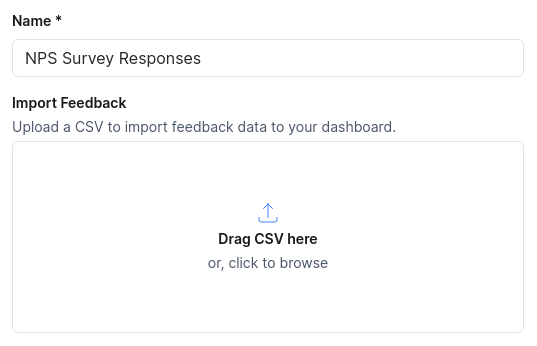
Step 1: Preparing the CSV File
Before uploading, ensure that your CSV file adheres to the following guidelines:
- Each column should contain the same data type (e.g., all numbers or all text).
- The first row should contain header titles that describe the column content.
For example -
![]()
Step 2: Uploading the CSV File
To upload your CSV file:
1. Go to Manage > Channels
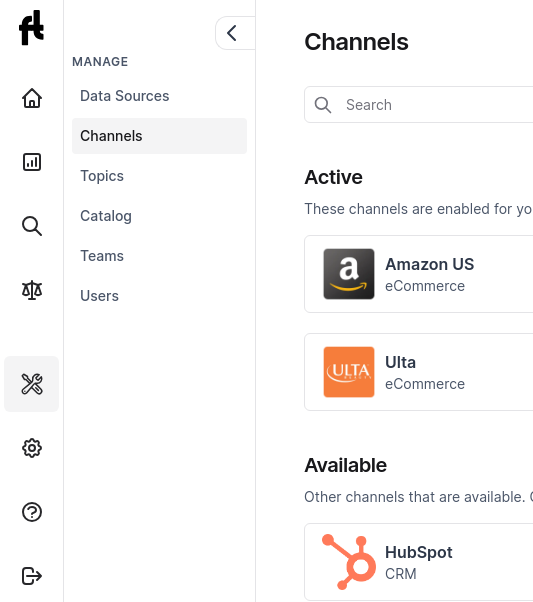
2. Click on the 'Upload CSV' channel

3. Select your file from the file picker.
Large files may take longer to upload. Please be patient and do not navigate away from the page during this process.
Step 3: Mapping CSV Columns
Post successful upload, map each CSV column to a label. You can choose to ignore a column by selecting "Ignore this column" option.
Once the columns are mapped, click on "Validate & Submit" to continue.
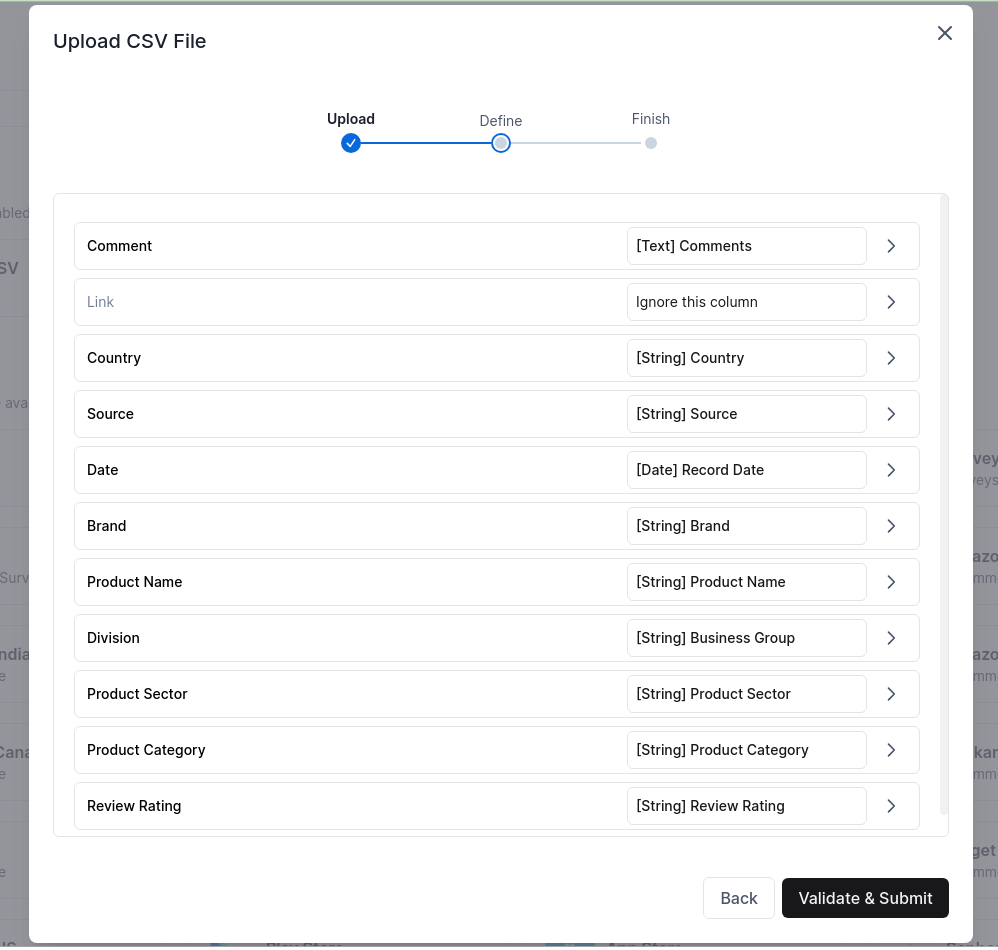
Exact row duplicates will be removed with a "warning" and not processed.
Understanding Labels
Labels are identifiers for your data columns and can be thought of as 'tags'. They consist of a name and a type (e.g., 'text', 'string', 'number', 'boolean').
- Structured Data: Assign a label that corresponds with the data type in the column
- 'number' for numeric data like rating, scores, etc
- 'string' for string data like country, city, category, etc.
- Unstructured Data: Columns with unstructured textual content should be labeled as "text" for qualitative analysis.
Labels with structured data (e.g numeric, boolean, string) will become filters in the system, enabling you to create dynamic segments for detailed drill-down analysis.
You can create new labels or use pre-existing ones to keep your data consistent across different uploads.
Step 4: Tracking Progress
After mapping, a task is created to process your data. You can monitor this in the Manage > Data Sources section.
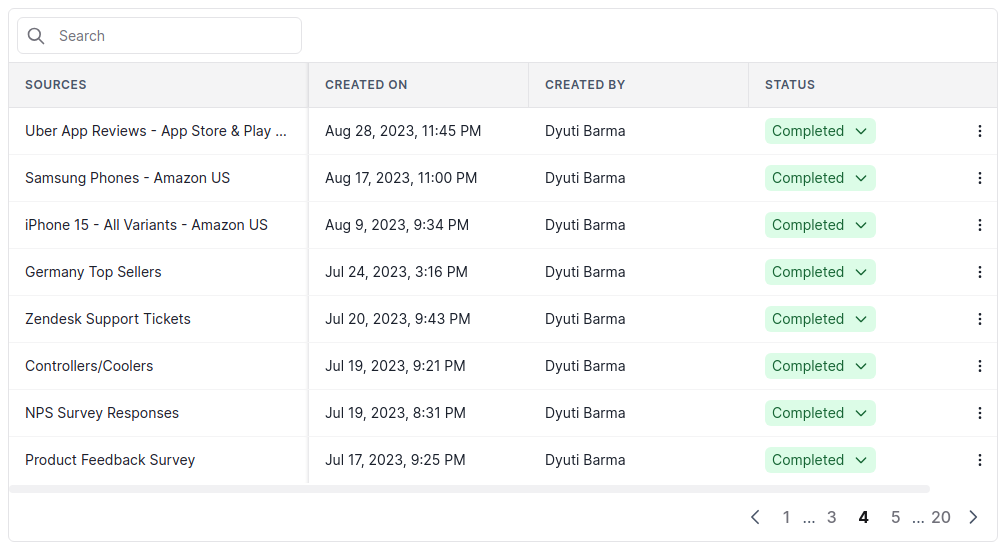
Processing times vary. Small files may take a few minutes, while larger sets could take hours.
Don't worry - you'll receive an email once the processing is completed.
Step 5: Accessing Your Insights
Once the data is processed, the platform will auto-generate reports. These reports can be used to draw insights and make informed decisions.
Custom Reports!
You can create custom reports with personalized widgets, cuts and visualizations.
Additional Information
- Combining CSV Files: If you have multiple CSV files with the same structure, they can be combined after upload.
- Quota Limits: Keep in mind your account's processing quota when uploading files.
- Notification: An email will be sent to you once your data has finished processing.
Troubleshooting and Support
If you encounter any issues or have questions:
- Refer the FAQ section for immediate help.
- Contact the support team:
- Ping via the chat bubble
- Email at support@freetext.ai
- Message via contact form